What is Dozzle and how it's work?
I'm Zin Lin Htet. Who love to learn and share about Linux, Cloud, Docker and K8s. Currently working as a DevOps Engineer at one of the famous Fintech Company in Myanmar.
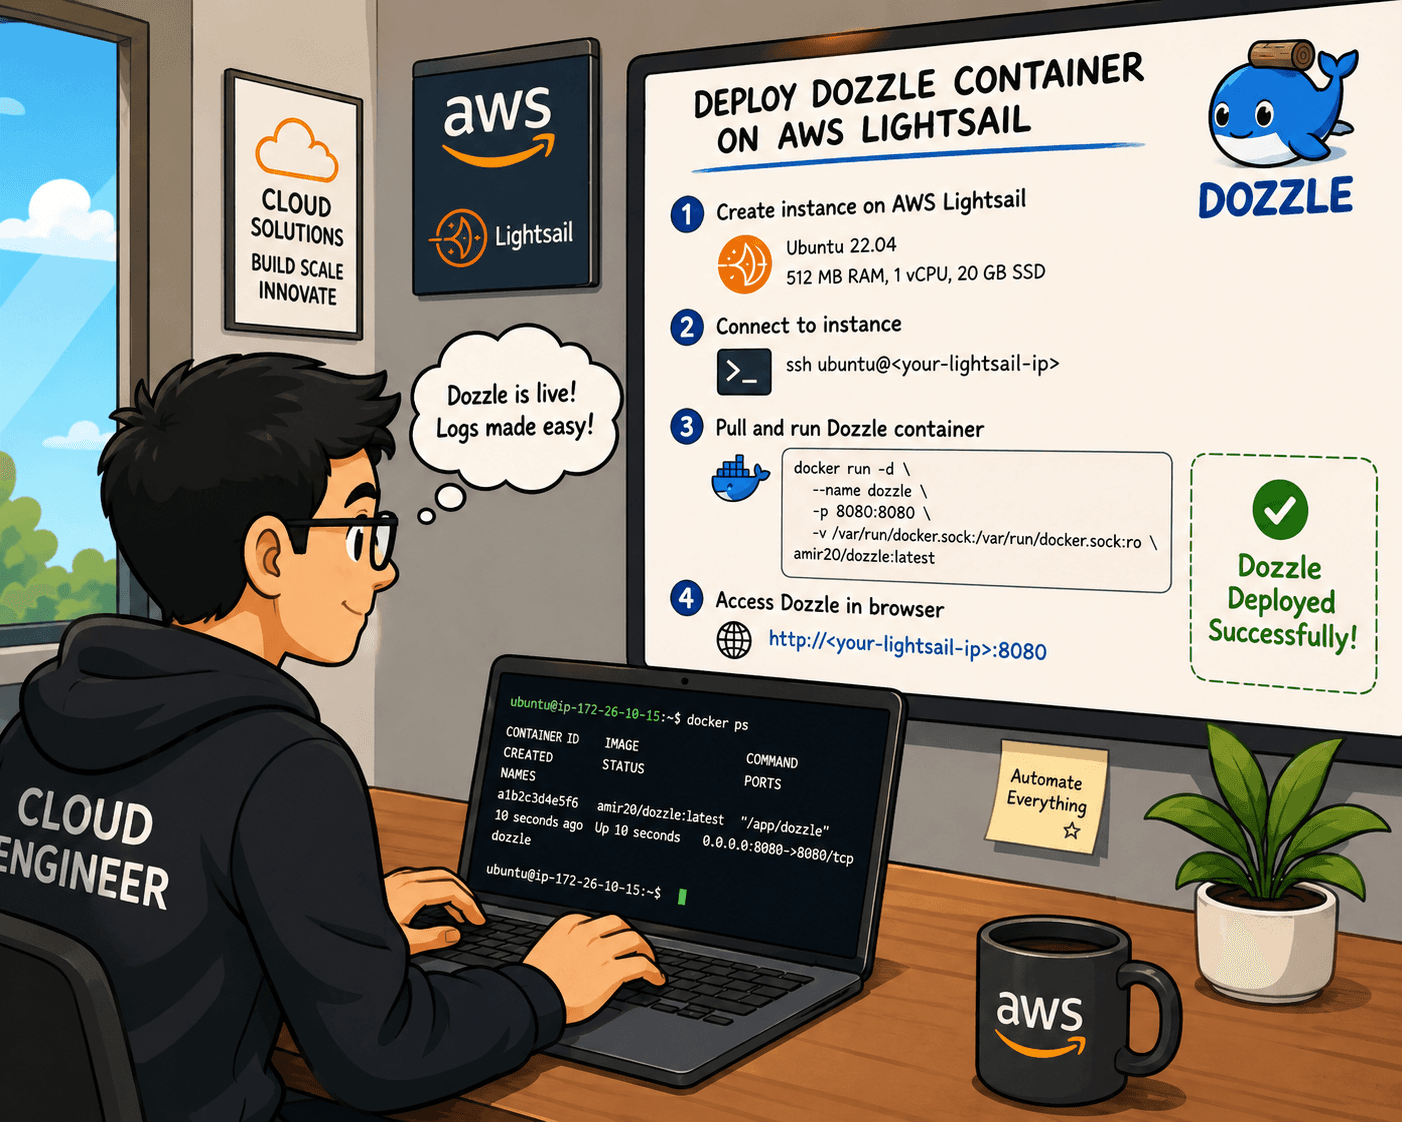
Today, I want to introduce Dozzle, a web-based tool for viewing container logs in real time. In this tutorial, I utilized AWS Lightsail with Ubuntu to host the Docker engine. I used a Cloudflare domain with a proxy to access Dozzle via the domain with SSL.
What is Dozzle?
Dozzle is a real-time, web-based log viewer for Docker containers. It doesn't manage containers or spin up services it focuses on one task and excels at it providing instant access to your container logs through a clean browser interface.
Standard Docker logging requires you to use the command line: [ docker logs -f {container_name} ].
This is fine for one container. But if you are running a complex stack (like a local development environment or a home server) with 10+ containers, jumping between terminal windows or constantly typing commands to check why a service crashed becomes tedious. Dozzle replaces that hassle with a lightweight web dashboard.
Key Features:
Real-time Streaming: Logs update instantly in your browser as they happen.
Intelligent Search & Filtering: You can regex search through massive log files in seconds.
Split Screen: View logs from multiple containers side-by-side to track how they interact.
Zero Configuration: It automatically detects all running containers on your host the moment you start it.
Ultra-Lightweight: Written in Go, it uses next to no memory or CPU.
Use Cases:
Local App Development (Microservices)
If you are developing an application that relies on a frontend, a backend API, a database, and a caching layer (like Redis), you have multiple containers running at once.
- The Use Case: Instead of having 4 terminal tabs open to watch logs, you keep Dozzle open on a second monitor. When an API call fails, you can instantly see the backend stack trace and the database error side-by-side.
So let's do it.
Phase 1. Creating AWS Lightsail


I allow port 8080 through the firewall since the Dozzle container runs on this port. After setting up an Nginx proxy, you can remove access to port 8080.


This step is installing docker engine on ubuntu.


sudo apt update -y && sudo apt upgrade -y

sudo apt install net-tools curl wget -y

sudo curl -fsSL https://get.docker.com -o get.docker.sh | sudo sh get.docker.sh

sudo usermod -aG docker ubuntu

id ubuntu

sudo systemctl enable --now docker.service

sudo systemctl start docker.service

sudo systemctl status docker.service
Phase 2: Set up Docker Compose and create Dozzle and backend API containers


sudo git clone https://github.com/frandi-devops-learn/demo-dozzle.git

cd demo-dozzle

ls

docker compose pull

docker compose up -d

docker ps

Copy your Lightsail public IP, enter it in your browser, and access it via port 8080.


Phase 3: Setup nginx reverse proxy


sudo apt install nginx -y

sudo systemctl enable --now nginx

sudo systemctl start nginx

sudo systemctl status nginx

sudo su -

rm -f /etc/nginx/site-enabled/default

ls -l /etc/nginx/site-enabled/

ls -l /etc/nginx/site-available/

sudo vi /etc/nginx/site-available/demo-logs.frandisharing.com

ln -s /etc/nginx/sites-available/demo-logs.frandisharing.com /etc/nginx/sites-enabled/

ls -l /etc/nginx/site-available/

nginx -t

nginx -s reload
server {
    listen 80;
    server_name demo-logs.frandisharing.com;

    location / {

        proxy_pass http://127.0.0.1:8080;

        proxy_http_version 1.1;
        proxy_set_header Connection "";

        proxy_set_header Host $host;
        proxy_set_header X-Real-IP $remote_addr;
        proxy_set_header X-Forwarded-For $proxy_add_x_forwarded_for;
        proxy_set_header X-Forwarded-Proto $scheme;

        proxy_read_timeout 3600s;
        proxy_send_timeout 3600s;

        proxy_buffering off;
        proxy_cache off;
        chunked_transfer_encoding off;
    }
}
After setting up the nginx reverse proxy, bind your public IP with the domain. Remember to enable the proxy.


Once the domain is bound, you can access Dozzle through it. Plese don't forget to delete AWS Lightsail after test. I don't want you to pay extra charges for unused cloud resource charges.
Congratulations you did it. It looks good. This lab was successfully completed without any errors. See you in next articles. If you have any issues please let me know I will be happy to assist you. Stay tuned and learn together. If you find my article useful, please kindly like and share it.
Here is my code repo for your reference.